Cleaning marks from car hoodlinings
Don't neglect it!
When getting into cleaning the interior of your car, some seem to neglect one of the bigger areas, that of course being right above; the hoodlining. This area is usually made from either fabric or vinyl, sometimes even a combination of both, and needs special techniques and products to clean it effectively.
Sitting in the car, have a look up and around you. If it's like most cars we see, it will most probably have some hand and finger marks, and then different combinations of yellowing from embedded dust or smoke, (from window down cruising) water stains, red dust, mould, food, soft drink & coffee explosions, make-up, sunscreen, car sickness, rub marks, even feet marks or other stains that you might not wish to know where they came from!
We have a couple of products that are essential to safely clean and help freshen up your hoodlining. Our steps below will help you remove many types of unwanted stains, to bring your hoodlining back to looking like new.

Let's get into it
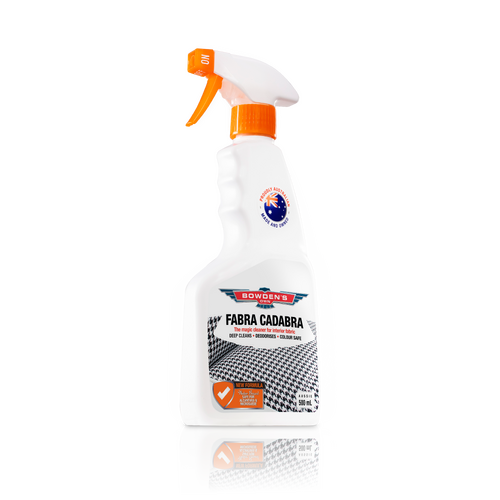
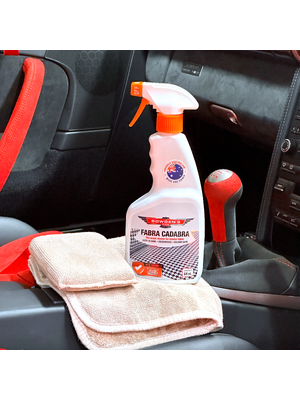
You will need our Fabra Cadabra interior cleaning spray, as it's a great and safe cleaner for fabric and vinyl surfaces. Also required is a Square Bear and Plush Daddy. These cloths come with special types of microfibre weave to aid the cleaning processes.
Park the car in a shaded, well ventilated area, where you can open up all the doors to provide easy access. Have a good look up and ascertain what type of hoodlining you have, whether it be a vinyl or fabric material. Both have slightly different ways needed to clean them efficiently.
Always test the Fabra Cadabra in a small and inconspicuous place first, like under a sun visor. It's a pretty rare chance that there may be compatibility issues (have been none so far), but just in case your hoodlining has been cheaply painted or dyed (we have one famous XY GTHO Falcon in our collection with this) in its previous ownership, it's always best to test first!

Vinyl Trim Hoodliners
Sitting inside the car, spray the Fabra Cadabra into the Square Bear till it's reasonably damp, which should be about 5 to 6 sprays. Gently wipe the hoodliner with the pad in a circular motion. Take note to see if the pad is excessively dirty. If you find it is dirty, wash it out with water and wring it damp/dry, or change to another pad. Do this, as you could just be continually spreading the dirt and other gunk you have cleaned off, further over and into the material. Then before it can dry, (about 1 minute depending on the weather conditions), wipe it down with a clean and dry interior buffing cloth. In most of our 4 seater cars, I like to break the area above me into quadrants, working on a section at a time and then moving to the next seat to clean the areas above them.
This method should be enough to clean most daily drivers, however if you still have dirt, it might mean you need to give it another pass, until the dirt and grime is gone.
Also be sure to clean the sun-visors, door pillars and other plastic parts around the roof area exactly the same way as above. To get a nice, darker look on any sun affected plastics, and some UV protection to your sun-visors, finish them off by using our Vinyl Care on it.

Fabric Hoodliners
There are two different types of fabric hoodliners; the suspended version with the cloth draped over a series of bars, and an air gap between it and the roof. With this type you have to be very gentle, so you don't stretch the material so it sags later. And then there's the moulded type, that has the fabric glued into a moulded foam surface in the roof. With this type, the biggest concern is the glue losing its bond and detaching the material from the roof, so it's VERY important that you don't repeatedly over saturate the fabric which can break the glues' bond and cause this. If you have a glued on/moulded foam roof that is more than 10 years old, we do not reccomend cleaning it, as the glues' bond is potentially very weak and could fail.
Our methods below are reasonably similar to cleaning the vinyl hoodliner roof except you don't apply as much of the Fabra Cadabra or saturate the material as much as you can with the vinyl roofs. You will also need to wait for it to totally dry if you wish to give it a second clean. Use a gentle side to side motion when cleaning, to make sure the fabric doesn't stretch and sag. Likewise using the side to side action will prevent the fabric bundling up into balls and creating “piling”.
Sitting inside the car, spray enough Fabra Cadabra into the dry and clean Square Bear applicator pad so it's slightly damp, which should be about 4 to 5 sprays. Gently wipe the hoodliner with the pad in a side-to-side motion, trying to flip to a clean section of the applicator pad with each pass - this is so you're not pushing any obvious stains across into new sections of fabric.
Inspect the Square Bear often to see if it's excessively dirty. If you find it is, just wash it clean with water and wring it damp/dry, or change to a new, clean pad.
After letting the area you have cleaned sit for a minute, (but making sure it hasn't dried), wipe it clean with the same side to side motion using a Plush Daddy cloth. Do all this nice and gently as you don't wish to stretch or damage the fabric in any way. If you wish to give it a second clean, wait for the fabric to totally dry before attempting this, as it might affect the hoodlining glues adhesiveness.

Fabric marks and stains
For more prominent stains in the hoodlining that the normal cleaning doesn't totally remove, you will need to do "spot cleaning". Spray Fabra Cadabra again into the applicator, then apply to the stain, but use a dabbing or blotting motion, working from the outside, pulling the applicator to the middle and then off the stain. Check the applicator to see if there is any of the stain on it, if there is, use a new, clean section of cloth, so you don't rub it back into the material you're trying to clean. The way the Fabra Cadabra is designed to work, is to release the stain from the fibres of the material, so during this process you have to be careful not to push the stain deeper into the fabric, making it even harder to remove. You just have to be patient with this method and slowly you will be able to remove most stains. After you're happy, wipe it with a clean and dry microfibre buffing cloth.
Grease marks on the side pillars were an easy clean.
You may notice if you have a darker fabric hoodlining, the bits of lint and fabric that get intertwined in the material. We find the best way to quickly clean this is to use a fabric lint remover, we like to use the roller ones, that you can get from any department stores.

Lint rollers are great for dark coloured fabric liners
Don't forget to clean the sun-visors and other plastic bits around the roof and pillars, all of which can be done with the Fabra Cadabra and the darker plastics can be finished off to a nice new sheen with the Vinyl Care.

Sunscreen, dirt, grease, and make-up on your sun-visors
Sun visors can usually be tackled in a similar way to the hoodlining, using Fabra Cadabra is the safest and most effective way to clean these up.
Being a high use high touch area, you may find that you will have to repeat this process a few times to get them fully clean. Make sure to not oversaturate the surface, and swap to a fresh side of your Square Bear applicator and Plush Daddy cloth often.
CHEWING GUM
We have seen this in a friends hoodlining before, so thought it fit to mention. First freeze the gum by placing a small plastic bag filled with ice on it, after about 5 to 10 minutes it will have hardened and you can then slowly peel or pick it off. Clean any remaining residue

Any Questions?
Should you have any questions about anything mentioned in this article, or have questions about other products and processes, feel free to get in touch on 1800 351 308, or shoot us an email to info@bowdensown.com.au
To find your closest retailer, see our Stockists link here - https://www.bowdensown.com.au/store-finder/
Love your leather!
Products Used


Plush Daddy
Dual sided, versatile, super soft microfibre cloth for interior cleaning. You will love the Daddy.
$17.99


The Square Bear
For perfect application of all interior products. Low absorption material so you don't lose all your product.
$13.99


