Using Bead Machine - our super hydrophobic sealant
What is it?
Bead Machine is a super hydrophobic paint sealant for use on dry surfaces. It utilises the very latest in advanced synthetic polymer technology to create a long lasting, super protective and shiny finish that's suitable for paint, glass, chrome, headlights, plastic trims and much more. The protection from Bead Machine is unmatched in our current line up, and is now the most protective product we make. It can be used as a base layer after a full deep clean and then maintained with Wet Dreams and Happy Ending, or it can also be used to boost modern waxes and ceramic coatings, with lots of work gone into the formula to ensure it works with these types of coatings.
The awesome attributes of Bead Machine:
- A highly durable synthetic sealant to protect, enhance and make your vehicle easier to keep clean.
- Super hydrophobic finish, for sweet bead porn and water sheeting that can last for months.
- Leaves a stunning shine, with epic gloss and remarkable smoothness.
- Hassle free and easy to use, with no streaking or smearing.
- pH neutral, water based formula that's safe on paint, glass, chrome, headlights, plastic trims and more.
- Perfect to further boost shine and protection on ceramic coated surfaces and waxes.
- Free of SiO2 and TiO2 nano particles, but still creates a "ceramic" like effect.
- Proudly all Aussie made, with 2 years of intensive development in our local conditions.

Preparation is key
Paint preparation is critical with waxes and sealants, and Bead Machine is no different in this respect. The better prepared and clean the paint is, the better your waxes and sealants will bond and work, and the longer they will last. Bead Machine works best on new, good quality paint work, so preparing your paint with the correct products and processes will let Bead Machine work at its very best to protect your paint for longer.
In this article we'll run through a full preparation process to best prepare your paint for Bead Machine, how to use it, what to use to maintain it, how often to use it, plus many other questions.

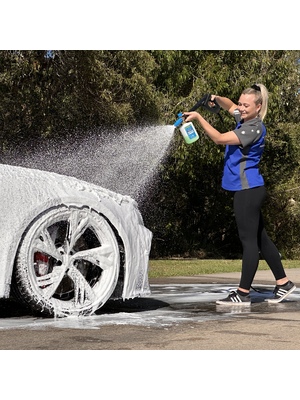
Snow Job pre wash
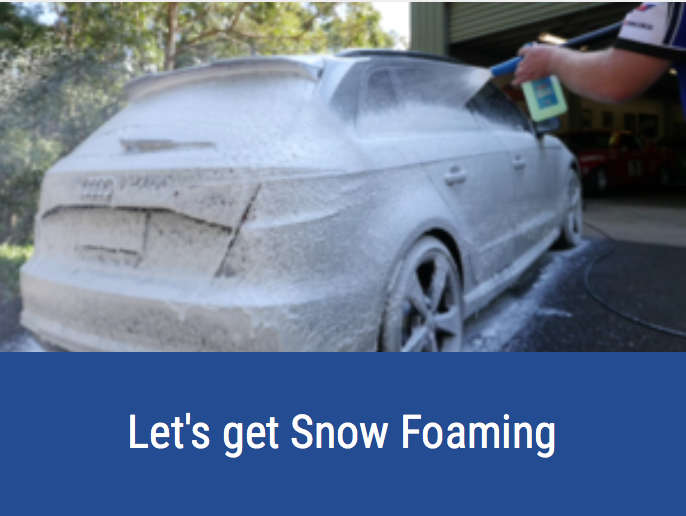
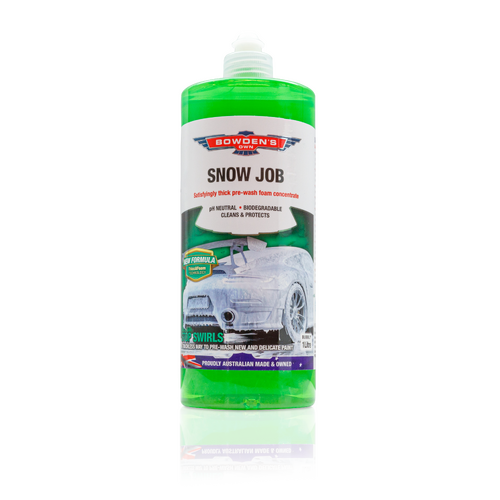
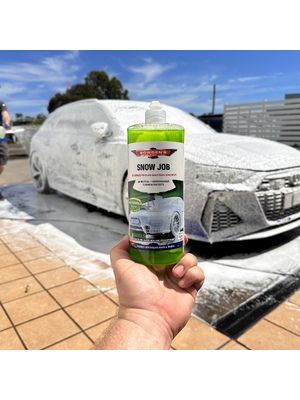
The Snow Job pre wash is an important start to any detail. This step is vitally important in helping to reduce the chance of putting swirls and scratches in your paint by laying a thick blanket of foam over your vehicle, helping to break down heavier dirt and grit, before pressure washing it off.
Start foaming at the back of the car, on the dirtier lower sections first, moving up to the roof last to allow the foam the longest dwell time on the dirtier sections of the car.
You can do a strip snow, by adding 100ml of Orange Agent and 100ml of the Snow Job foam to 800mls of water if you wish, but due to the intensive detailing to come after, we don't feel it's always needed unless your vehicle is extemely dirty or has an oily residue on it.
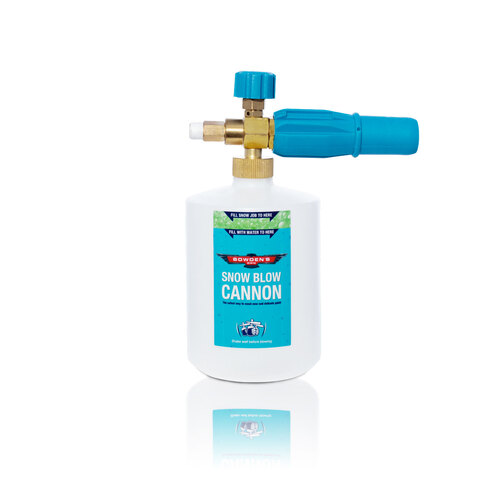
For a detailed how-to guide on using the Snow Blow Cannon and Snow Job, see the guide below -

Washing
Now that you've removed the heavier dirt and grit from the car, it's time for a 2 bucket hand wash with Auto Body Gel. We use this wash as its a more pure wash and won't leave any extra elements on the paint after its use. Grab your Wash and Rinse buckets with Great Barrier Thingy's in them, and your favourite wash tool (we love The Wash Pillow). Put 1 capful of the Auto Body Gel wash into the Wash bucket with approx 10-12L of water, and froth it up with your pressure washer or hose.
Wash sections of the vehicle at a time, starting at the top, and working your way down to the dirtier lower sections last. After each section (quarter of a roof, bonnet etc), dip your wash tool into the Rinse bucket to get any dirt and grit out of it, then go back into your clean wash suds bucket and continue around the rest of the car, doing small sections at a time.
Once you're done, empty the buckets and give them a good rinse out. You don't want to be storing any wash water for use later!
For a detailed look at washing, have a read of the guide below -

Drying
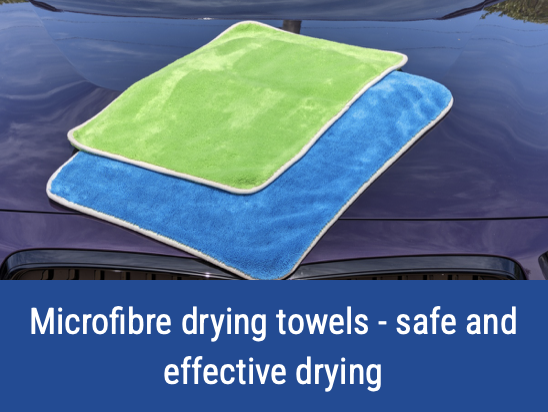
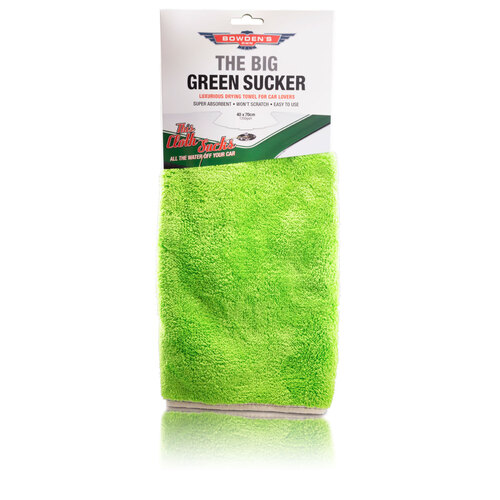
With the pre wash and wash now done, it's time to dry the car. At this stage, for this process, we're using The Big Green Sucker, but you could also use the Twisted Pro Sucker. Normally we would use Boss Gloss for this as it will help the cloth to absorb water a bit better, but today we don't want anything extra left on the paint, so use it without Boss Gloss for today. Because we're going to do a deep clean in the steps below, we won't be using After Glow either, as its shine creating quality would also be wasted for this particular process.
Start by drying the glass first to avoid getting water spots. After doing the glass, start from the top and work your way down to the lower sections of the car last.
For more information about the Twisted Pro Sucker and The Big Green Sucker and how to use it, see our guide below:

Decontamination - Three Way + Claying Rubber
As mentioned earlier, preparation is critical for laying down Bead Machine, and the decontamination step is vitally important in this process, especially for brand new cars.
Three Way + Claying Rubber does 2 jobs in 1 - it chemically decontaminates the paint by removing iron particles + older waxes and sealants with Three Way, and it also mechanically decontaminates the paint by removing surface bonded contamination with the Claying Rubber. This process does both of these jobs safely and easily, without marking your paint or causing any marring, provided you follow our instructions and rinse the Claying Rubber pad out as you go. It's able to do this because Three Way is a highly lubricating liquid that turns iron particles into a water soluble solution that can be washed away - the Claying Rubber uses a specialised rubber polymer surface that's very gentle on delicate paint systems and when used in conjunction with the Three Way for lubrication, will not mar paint.
To see our detailed guide on Three Way and Claying Rubber, click the link below:
After you have washed and rinsed the vehicle after using Three Way, dry the whole vehicle. It's good practice to run around the vehicle with a small battery powered blower if you have one, and blow all of the water out of the nooks and crannies like around the wing mirrors, behind door handles, wheels and tyres etc. It's also a good idea to quickly dry the door jambs, wheels and tyres with a couple Dirty Deeds cloths.

The deep clean
With the chemical and mechanical decontamination now done, it's time to really deep clean the paint. The Three Way and Claying Rubber will remove the surface bonded contamination, but paint isn't flat and it has dips and valleys in it that hold dirt and contamination. This is where the Paint Cleanse & Restore comes in and is perfect for removing embedded dirt and contamination from the paint. This is essentially deep cleaning the paint, so that Bead Machine can get the very best bond to the paint, to look and perform its best.
Apply a small, 50c sized dollop of product onto a Circle Work applicator pad and wipe it in with your fingers to ensure there's no dry spots on your applicator. Work the product into a small section of the paint (1/4 of a bonnet for example), up and down, then back and forth, until it begins to go clear. Once this happens, wipe off the residue straight away with a clean and dry Big Softie cloth folded into quarters to the low pile side. For the next section, apply a smaller amount of product (2 pea sized bits), and continue the same application and removal method until the car is done.
Click the link below for a detailed guide, including a how-to video.

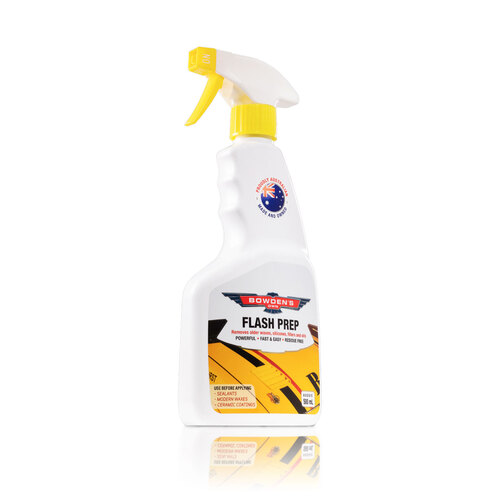
Flash Prep
During our extensive testing with Bead Machine, we found that the cleaner the surface is, the better it bonds. This meant we needed something that would remove all traces of oils, silicones and residue from the paint, to get the absolute best bond of the polymer to the paint. Paint Cleanse & Restore is a great way to deep clean the paint, and when used with our Carnauba Body Wax on top of it, works a treat.
Bead Machine is a new type of super hydrophobic water based polymer. It will work when used after Paint Cleanse & Restore, however we found that the longevity was affected. We were making Flash Prep to use with Mr Black, so we trialed it prior to applying Bead Machine, and our results were amazing - we got a better bond to the paint, resulting in better product performance and longevity.
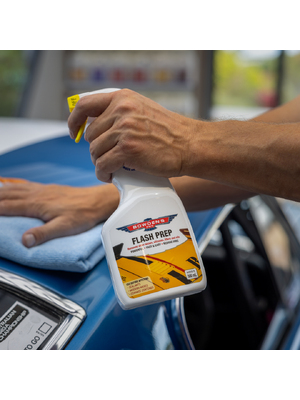
Flash Prep is a really simple one to use - with 2 Big Softie cloths in hand folded in quarters to the low pile, spray Flash Prep directly onto the paint surface in small sections (1/4 of a bonnet) at a time. Wipe the product in with your lead cloth - up and down, side to side, so that the product has time to work into the paint properly and remove silicones, oils etc, then give it a final buff with your second cloth. It will flash off nicely right in front of your eyes, leaving a beautifully clean surface for Bead Machine to bond onto.

Bead Machine application
So now we get to the main event - applying Bead Machine. It's VERY important to follow these instructions to make your Bead Machine experience as enjoyable as possible.
Work on small sections at a time, in the shade on surfaces that are cool to the touch. Break the car up into small sections (1/4 of a bonnet for example). Grab 2 fresh, dry and clean Big Softie cloths folded to the low pile side. One of these cloths will be your application cloth, and the other will be your cloth for buffing off residue.
Step 1 -
Shake the bottle well and mist 4-6 sprays into the low-pile side of a folded, clean & dry Big Softie microfibre cloth. Wipe the product evenly over the surface in an overlapping up and down, then side to side motion.
Step 2 -
Immediately use the second clean and dry Big Softie cloth and buff off any residue. Fold and turn the cloth often for a nice, even finish.
Step 3 -
Mist 1-2 more sprays only into the application Big Softie cloth for each subsequent section, and continue the above process till the whole car is completed.
Allow at least 4 hours to cure before it can get wet for best results.
Once you've finished the whole car, put both of your cloths into a bucket like our Microfibre bucket, half filled with water and throw 10ml of Microfibre Wash in there and thrash it around to release the super hydrophobic polymer from the fibres of the cloth. Keep them wet and then put them in the machine wash together with the other microfibre cloths you've used in the process.

Other important information
If you experience streaking, or are finding it difficult to buff the product residue off, here are a few things to try:
- First of all, make sure the vehicle is in the shade and the panels are cool to the touch (heat will affect the usability greatly). If your car is black or a dark colour and has been in the sun it will absorb and hold the heat for many hours more than a white or silver car will.
- Use clean, good quality microfibre cloths! Cheaper cloths won't work as well and can create issues.
- Make sure the paint is completely clean and free from dirt, silicones, oils and is residue free (basically do everything in this guide to eliminate this).
- If you're still experiencing some bits you cannot buff off, use the damp Big Green Sucker you just dried the car with to gently wipe over any high spots, or use a slightly damp Big Softie cloth to even out any high spots.
- Bead Machine isn't suitable to use on matte finishes. Clean Detail is currently our only suitable spray for use on matte surfaces.
For a detailed explanation of where and how Bead Machine fits into our current line up and if it's suitable for you, see our article below:

Maintenance
When you notice the beading and water sheeting begin to diminish, you can boost it with any of our other super hydrophobics; Wet Dreams and Happy Ending. We made both of these to be the best accompanying products to use with Bead Machine for long term maintenance.
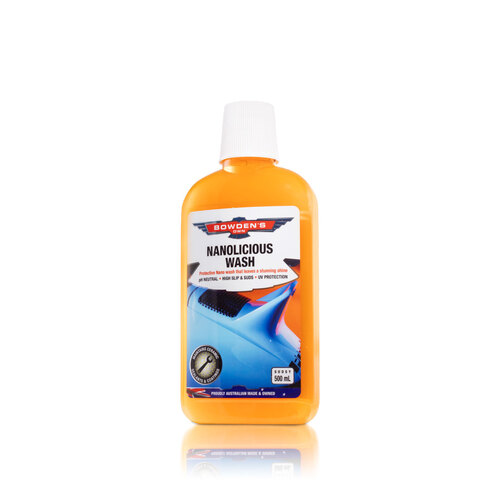
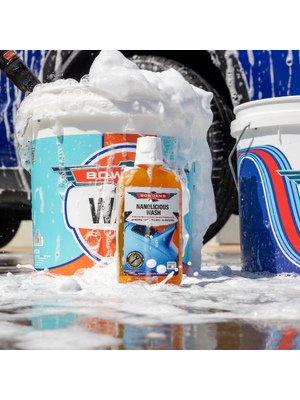
For your weekly washing you can use our Snow Job foams as well as any of our three washes: Auto Body Gel, Wax Wash or Nanolicious Wash, although we feel Nanolicious Wash has a very slight edge thanks to its more exotic ingredients. Do note that all these washes have a hydrophilic (water loving) nature to them, so they can sometimes initially hide the surface tension/water beading right after their use.
For drying you can use After Glow with the Big Softie cloths, or the Boss Gloss combined with the Big Green Sucker without affecting the hydrophobic properties of Bead Machine, Wet Dreams or Happy Ending. A really cool added bonus of having these super hydrophobic products on your vehicle is that the Snow Job snow foam will become more effective and clean better, and the paint will become much more slippery and smooth, and easier to clean, dry and maintain.
We know people like to do things differently, to suit their different situation or just how they wish to use the products, so here are our 3 best recommendations on using Bead Machine after that first application:
- As a base layer to then top up with Wet Dreams and Happy Ending at the end of a wash, which is our favourite method, as it's the easiest and we feel most effective.
- As a stand alone sealant. So it's used on its own, on dry, clean paint after a wash, with no products to top it or maintain it, only itself. If you do use it this way, we suggest doing two layers if you wish as well, with the 2nd coat applied 15 mins after the first layer.
- Layered on top of Wet Dreams or Happy Ending, to create layers of super hydrophobic protection. Yes you can do this, but it's not quite as long lasting as the first two methods. This applies to applying Bead Machine on your carnauba waxes as well.

Common questions
- Do I have to use Flash Prep before applying Bead Machine? - It's extremely important that the paint is as clean as possible. Flash Prep ensures that any oily residue, silicones etc, anything that might affect the bond of the product to the paint, is removed prior to application.
- But I used Paint Cleanse & Restore, can't I put Bead Machine straight over that? - You can, however, we discovered during testing that Paint Cleanse & Restore will affect the longevity and the hydrophobic nature of Bead Machine. Paint Cleanse & Restore is still a vital step in paint preparation, so a quick going over with Flash Prep after the Paint Cleanse & Restore will give the best results.
- Can I use Clean Detail, Orange Agent or Naked Glass instead of Flash Prep? Short answer: no. Flash Prep has a very specific blend of ingredients that deep clean surfaces to remove dirt, oil, silicones etc, with a long work time that will flash off to leave zero residue and clean, bare paint. None of the other products in our range are suitable for this job.
- How long will it last? This will depend entirely on preparation, paint condition, how the car is kept, where it's kept, how often it's driven, how it's washed and cared for etc. During our testing we saw 3-4 months in the real world, on daily driven cars with good condition paint, and much longer on weekenders.
- Can I still use Fully Slick, Lazy Wax, Carnauba Body Wax etc? You can, however, we have found that Bead Machine works best with the newer, super hydrophobic products Wet Dreams and Happy Ending. After Glow can still be used as a dedicated drying aid without affecting the hydrophobic properties of Bead Machine, Wet Dreams or Happy Ending.
- Can I use it on my windscreen? We strongly recommend not to, as it can potentially create some smearing when the wipers are used in the rain. It's fine for all of the other glass on your vehicle.

Questions?
Bead Machine is available at your local autObarn, Supercheap Auto or Repco, as well as many of our other supporting stores nationwide.
A pack is also available on special order called the Beautiful Beads Pack. The pack contains Bead Machine, 4 Big Softie cloths (2 Orange for Flash Prep, and 2 blue for Bead Machine) and Flash Prep.
Bead Machine product code - BOMACHINE
Beautiful Beads Pack product code - BOMACHINEP
To find your local Bowden's Own stockist, click this link HERE.
If you would like more information about Bead Machine, Flash Prep or any of our other products, shoot our team an email to info@bowdensown.com.au, or FREECALL our office on 1800 351 308.
Happy detailing,
Brett Hobbs
Products Used


Big Softie
This plush cloth cuts time in removing waxes, cleansers, glass cleaners and detail sprays.
$16.99
Flash Prep
An effective surface preparation spray to remove older waxes, silicones, fillers and oils.
$22.99
FAVE
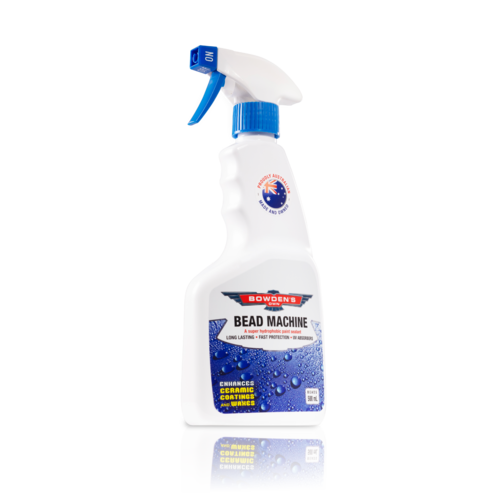
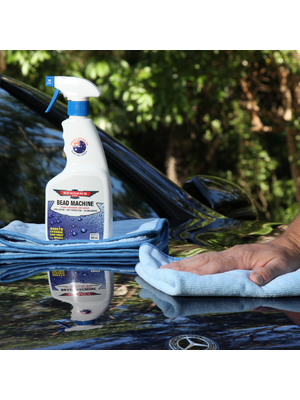
Bead Machine
Our most protective & durable sealant, for an amazing shine & super hydrophobic bead porn.
$37.99

