Using your Safe Wash System Kit
Congratulations!
Congratulations on your purchase! This kit contains everything you need to safely wash and dry your car, greatly minimising the risk of inflicting scratches or swirls onto the paint usually caused by a combination of poor techniques and bad quality equipment. Read on to learn how to get the best from the contents of this kit.

Snow foaming
Your kit contains adapters for the Karcher K series, and Gerni/Stihl/Husqvarna/Nilfisk pressure washers. We have 8 other adapters to suit a wide variety of machines available on our website. Check our guide below for more information on this, or if you require a different adapter. All the information you need to get the adapter you require is in this article.

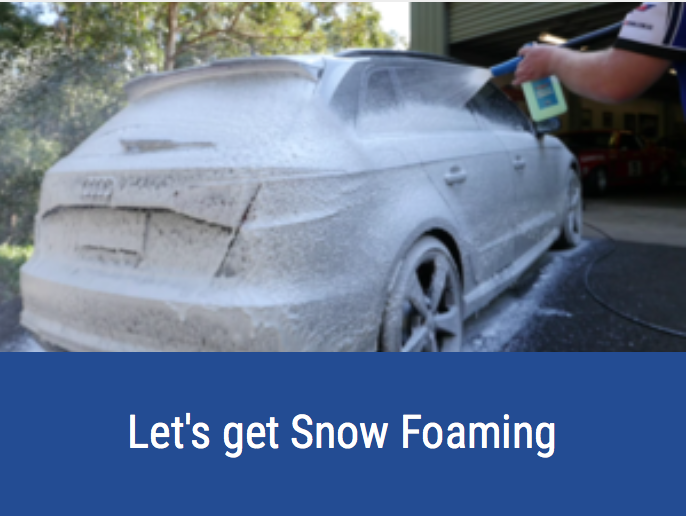
Fill your Snow Blow Cannon bottle with 900mL of water and 100mL of Snow Job, attach it to the cannon and give it a good shake. Attach it to your pressure washer handle where the lance extension disconnects from the gun, turn the knob almost all the way to the "-" side, adjust the fan so you get a good arc, then move to the back of your vehicle. Starting at the bottom, begin foaming the car in a methodical overlapping motion, moving round the car till complete.
Allow the Snow Job to dwell for 3-5 minutes (less if you're in the sun - don't let it dry) and then begin thoroughly pressure washing the foam off, starting from the roof, and leaving the lower rear sections till last - this gives the foam the maximum dwell time so that it can break down and remove as much grime as possible. Use overlapping sweeping motions, breaking the car down into sections (e.g one door, one rear section etc).
More tips for using the Snow Blow Cannon and snow foaming can be found here:

Time to wash
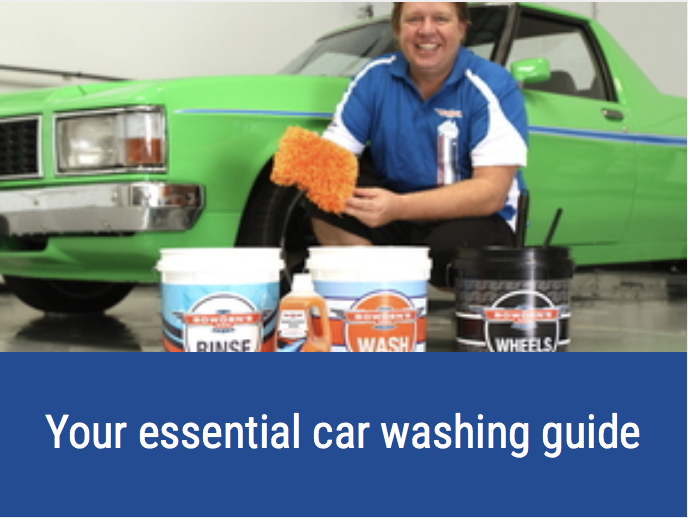
Get your Wash and Rinse buckets ready and 3/4 fill them with clean water. Add 1 capful of Nanolicious Wash to your Wash bucket, then froth it up with the pressure washer to get a good head of suds. Thoroughly rinse out your Shagtastic Wash Pad in the Rinse bucket, then dip it into the Wash bucket and let it absorb a large amount of suds.
Starting at the top of the car, wash in straight lines, flipping the wash tool as needed, going back to the Rinse bucket after each small section to rinse any dirt from the wash tool. Then go back into your clean Wash water and do the next section until the whole car is done. Do the lower sections of the doors last, and any other sections that are quite dirty.
If you're washing in the sun, we'd recommend washing small sections of the car at a time (1 door for example), then rinse that panel off before moving onto the next panel, so that the Nanolicious Wash doesn't dry on the paint. Once you've washed the whole car, take the end off the hose to flood the water off the panels, making it easier and quicker to dry the car.
To see a detailed explanation on this safe wash method, see our guide here:

Drying
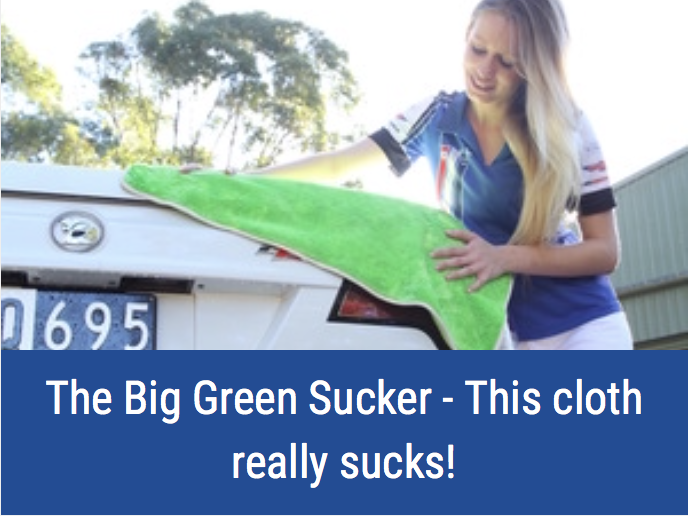
Drape The Big Green Sucker over your outstretched arm and spray 6-8 sprays of Boss Gloss into each side of the cloth, then starting at the top of the car and working your way down, begin drying the car. You'll find The Big Green Sucker will dry the whole car without the need to wring the cloth out.
After drying the paint, you can then dry the door jambs, wheels and tyres. Grab a Dirty Deeds cloth folded into quarters, and spray a few sprays of Boss Gloss into one side of the cloth, leaving the other side to dry the tyres with. Dry the door jambs and the wheels with the side of the Dirty Deeds with the Boss Gloss on it, then flip the cloth over and dry the tyres last with the side that has no Boss Gloss on it.
See our full drying guide below.

Microfibre Cleaning
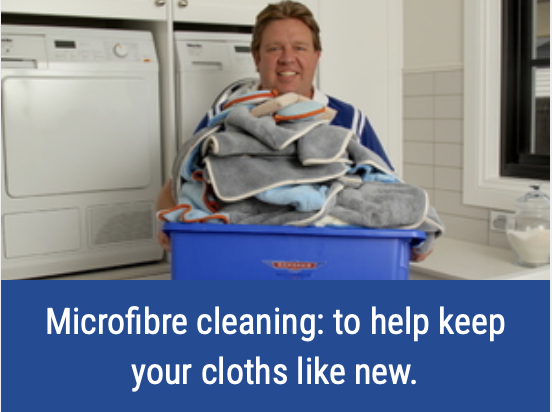
Probably the most important and overlooked part of detailing is keeping your cloths clean. We made our own microfibre wash to break down detailing chemicals from the fibres of the cloth and allow the fibres to rinse free, meaning your cloths will continue to work like new for years to come. For any heavier stained cloths or applicators, put a few mL of the Microfibre Wash directly onto the cloth or pad and massage it around with your fingers to help release the product, then give it a good rinse under some warm water before putting it into the wash. You can also put approximately 10-20mL of Microfibre Wash into a bucket with some warm water and let the applicators and cloths soak in there for 30 minutes prior to putting them through the wash.
Put all your cloths and pre soaked dirtier applicators into the washing machine on a normal cycle, on the warm water setting. Put 20mL of Microfibre Wash in the machine (DO NOT USE FABRIC SOFTENERS) and away you go. Once they’re washed, tumble dry the cloths on the cool setting and then store them in an air tight container if possible, ready for their next use.
For a more detailed explanation of this process, please see our dedicated caring for microfibre guide below.

Any Questions?
This gives you a good overview of the products in your new kit, and a step by step guide on how to use them and in what order to use them in.
If you have any questions, please email us info@bowdensown.com.au or call our office on 1800 351 308.
Happy detailing!
Brett Hobbs


