Beach trip cleanup of your 4WD
After beach cleanup is VERY IMPORTANT
An often overlooked but very important part of 4WD ownership is cleaning up after trips, particularly if you have been anywhere near salt water. Even just driving on the beach and not going near the water subjects your vehicle to salty beach sand, and moist salty air that will gradually begin to corrode away at any exposed metal surfaces on your vehicle. This process takes a long time, but is cumulative and will get worse and worse with every trip to the beach.
Fortunately, it's very easy to stem the tide on this by giving your vehicle a quick clean up after each trip, this guide will run you through all the important steps and tips that we have learned over many years of offroad adventure.

Pre trip protection
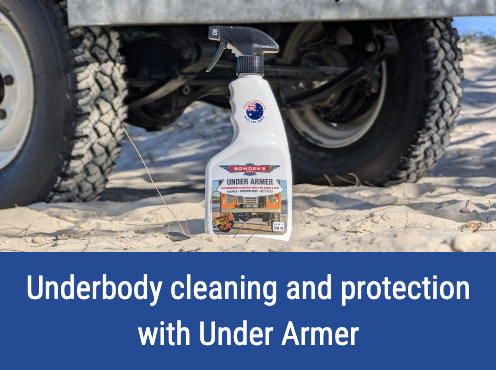
Before embarking on your trip, we recommend applying a protective coating underneath with our Under Armer underbody protection spray. For offroad fanatics, the Under Armer spray was meticulously crafted for ultimate corrosion protection down under. Over 5 years of development and 400 formulas went into making this unique water based formula that’s free of harsh solvents, sticky lanolin, oil, or wax which LOVE attracting sand and dust. We’ve incorporated the absolute best corrosion inhibitors that we can get into this state of the art formula, and our rigorous testing against all other offerings show how far ahead this formula is. It's a simple spray on, rinse off application that cures to a clear, non-sticky new look finish and is suitable for all underbody metals, rubbers and plastics.
See our guide below for full instructions on how to apply Under Armer.

Underbody cleaning
When you’re back from your trip, you’ll want to tackle the cleaning as quick as possible so that the salt and sand have minimal time to spend on your paint. We're starting with the underbody here so we don't have to be lying around on wet ground from the later steps.
One of the most important and overlooked cleaning steps is flushing out your chassis rails to remove any trapped sand and prevent wet spots that promote and accelerate corrosion. We've all tried the sprinkler trick, and this doesn't get the sand out of the rails and is not effective in our testing. We recommend using a hose with the connector taken off the end so you have a steady and even stream of water.
Starting on either side chassis rails, find the furthest back hole and push the hose end through as far as it will go. Observe as the sand begins to flow out from the drain holes down the rails. Wait until this flow becomes clear water and then adjust the hose pulling it in and out until no more sand comes out. Then repeat the process on the other side.
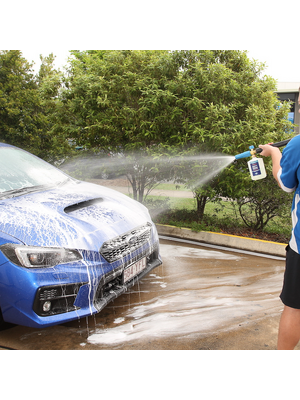
With the inner rails done, we’ll move on to the rest of the underbody. Grab your snow blow cannon and add 900mL of water and 100mL of Dirty Times Wash. Shake thoroughly then fully coat every surface of the underbody, adjusting your nozzle spread to reach different areas and paying extra attention to any chunky sand build up.
Find a hole in the chassis rail that you can point the cannon at on an angle and fill the rails up.
Dirty Times Wash is ideal to use in place of snow foams here because it will dissolve salt, break down the minerals and leave a corrosion barrier thanks to its anti rust additives that will help minimise and prevent rust. Set aside the leftover Dirty Times Wash mixture and allow it to sit for a few minutes before rinsing off.
Use a hose sprayer on the jet setting to blast through the rails and flood the areas with a large amount of water to remove sitting suds and sand being thorough in every potential location that sand could be built up or hiding. You can also use the pressure washer for this, but we find the volume of water is more important than pressure here.
For any grease or oil left after snowing, we’ll use the deep cleaning power of Down & Dirty which easily lifts heavier grime when paired with some of our brushes.
Prepare a wheels bucket with a cap of Dirty Times Wash to rinse your brushes in as you go. Use The Chubby for flat open surfaces and the Foursome Brushes for more intricate areas.
When you’re all done, rinse the underbody down completely and prepare your cannon with the leftover wash from before as we move on to the engine bay.

Engine bay cleaning
You'll find a surprising amount of sand and salt water build up in the engine bay, and we are again going to use our Dirty Times Wash for its salt and mineral dissolving properties. If you have heavy grease, mud or grime build up, you could also use our Down & Dirty cleaner.
Grab a Grey Twisted Little Sucker, Chubby brush, a Foursome Brush and a small portable blower if you have one. It’s important to make sure the engine and any rubber hoses are cool to the touch before you start.
Begin coating the engine bay using the Dirty Times solution from the cannon, taking care to avoid intakes and exposed electricals. Some older 4WDs may need covering of intakes, distributors, alternators and spark plugs.
Once everything is coated, allow it to dwell for a few minutes, then scrub the flat open areas with the Chubby brush and the more intricate areas with your Foursome brush of choice. Then rinse thoroughly with low pressure from the hose, avoiding the same areas as before. Grab your blower and blast the water out of the nooks and crannies and then dry the rest of the engine bay down with a clean and dry Twisted Little Sucker cloth.

Wheels
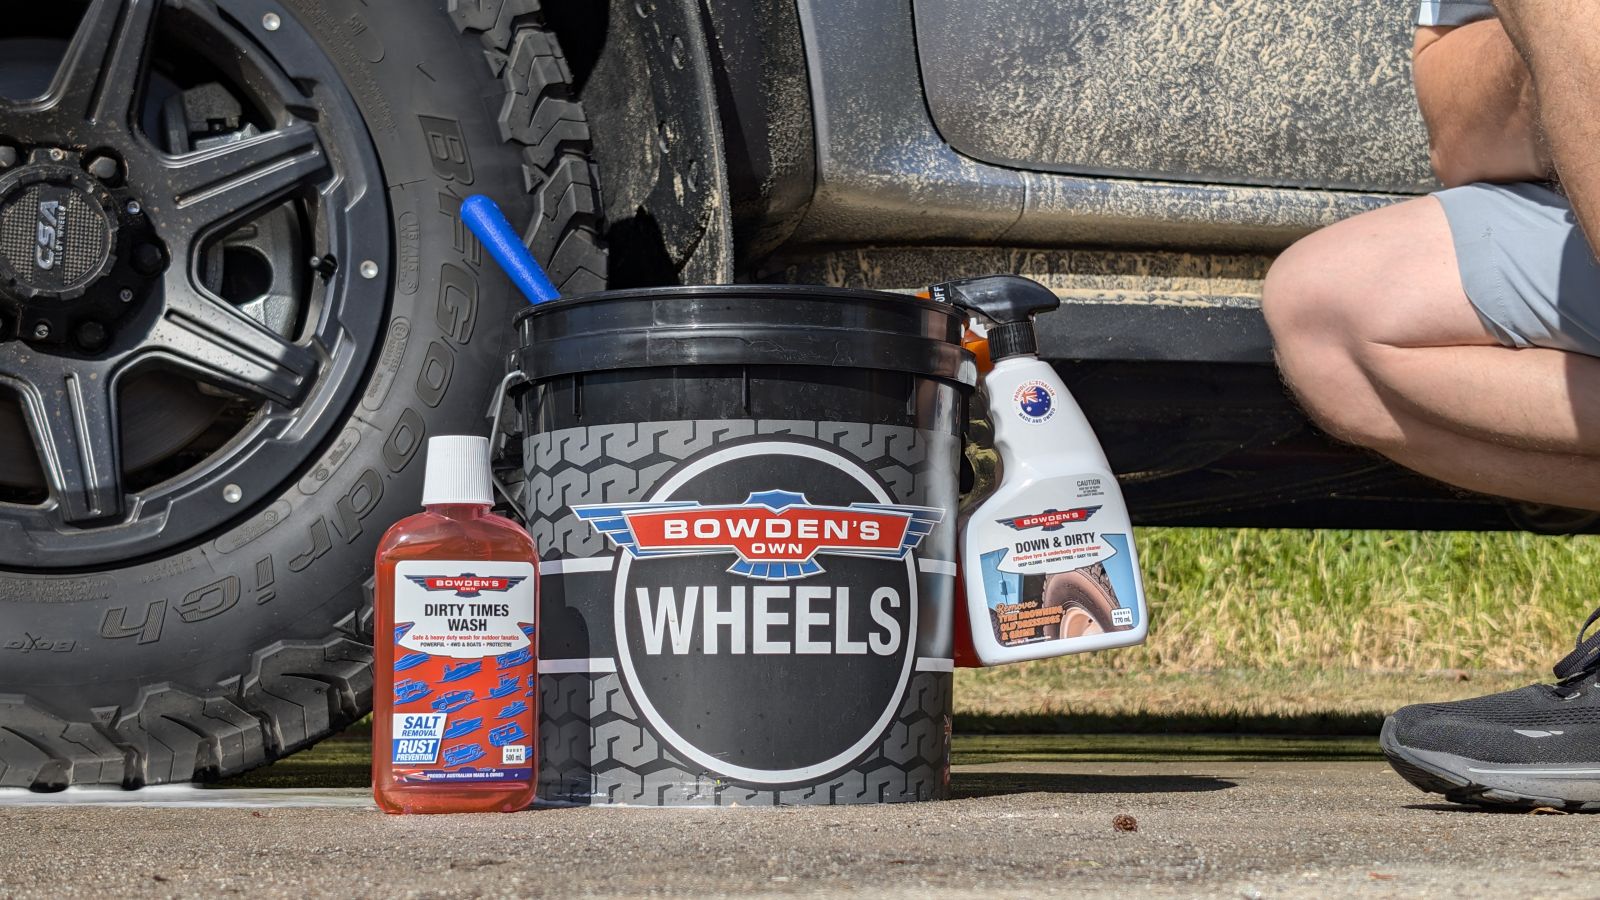
Grab a fresh Wheels Bucket filled three quarters full of water, add a capful of Dirty Times wash and a Great Barrier Thingy to help keep dirt and grime in the bottom of your bucket.
Begin misting Down & Dirty over your tyres and wheel face for full coverage. Its heavy duty cleaning formula is versatile and super effective at lifting annoying tyre browning and great for grime and sand build up on your rims, while also leaving a barrier against corrosion after it’s rinsed off.
Our Little Stiffy is purpose built for cleaning tyre rubber, and pairs well with Down & Dirty for a super effective tyre cleaning combo. Give the tyres a good scrub, avoiding the wheel faces as the bristles are stiff and will cause scratches. Rinse the whole wheel and tyre thoroughly with a strong jet of water to remove the bulk of the grime and sand, so the next steps are safer.
Dip your chosen brushes into your wheels bucket to soak up a good helping of suds before scrubbing. We normally use a combination of brushes to suit the wheel design for a proper deep clean.
If you have open spoke wheels, the Flat Head brush will poke through and make the inner barrels and behind brakes easy to reach.
The long, soft and feathered tip bristles of The Chubby brush is perfct for larger wheel faces and flat areas, while being safe and effective. Our Nuts and Guts from the Foursome brush set is super handy around wheel nuts, inner seams, wheel lips and any tight corners to remove the hidden sand and grit there also. Scrub and rinse your brushes often in the bucket to avoid spreading any dirt or leftover sand around the wheel.
After the wheel’s been scrubbed, give them a thorough rinse paying extra attention to the inner barrel and other inner suspension components contained within the wheel. This is to dislodge sand that might have fallen down as you cleaned.
On the still wet wheel surface, evenly mist Wet Dreams across the wheel face and immediately and thoroughly pressure wash off to activate the formula. It will add a super hydrophobic layer of protection that will make it harder for dirt and sand to stick in future, making cleaning easier next time.


Door jambs
After the wheels, it's best to clean your door jambs as you don’t want water from the jambs to dry onto the clean exterior paint after you’ve washed it. Prepare some Down & Dirty, a Foursome brush and a bucket of fresh water to rinse the brush out in regularly.
Doing one door at a time, use the open end of the hose and flood from the top to the bottom of the jamb to remove standing sand and to avoid excessive overspray into the car.
Then, liberally spray Down & Dirty onto the section you’re cleaning avoiding any greased hinges, and then agitate with the brush paying particular attention to seams, rubber seals, plastic parts and door skin drain holes where sand and dirt like to hide. Down & Dirty will help lubricate the surface, making it harder for sand to scratch as you use the brush. Rinse each section down before it dries to avoid grime and sand settling on the door jamb again. Repeat on each door before moving onto the exterior.

Pre wash
The prewash step is the most important part of our safe wash system, as it dramatically reduces the risk of scratches or swirls ocurring in your paint as you wash by removing the heavier dirt, grime and sand that causes this kind of damage before you ever touch the paintwork. For a beach driven 4WD, you also see the benefit of getting the mineral dissolving and corrosion preventing properties of the Dirty Times Wash all over every nook and cranny of the car.
Top up your Snow Blow Cannon with Dirty Times Wash and water using the same 9 to 1 ratio as before, and begin foaming the whole car, starting at the back and following a bottom to top, overlapping motion making sure to get full and thorough coverage. We use Dirty Times Wash here instead of one of our snow foams because its lower pH formula enables it to easily dissolve salt and minerals from the beach that cause corrosion.
After leaving it on the paint for a few minutes, rinse off thoroughly starting at the roof and make your way down the car in methodical overlapping motions. Take extra time with the nooks and crannie, rinsing them till they run clear and free of sand to avoid potentially scratching during the hand wash which we will move onto next.

Hand wash
Fill a Wash and Rinse bucket three quarters full of water, add a Great Barrier Thingy and a capful of Dirty Times Wash into the Wash bucket. Froth the mixture with a blast from the pressure washer for a nice head of suds then rinse the wash pillow in the Rinse bucket before dipping it into the Wash Bucket to fill it with suds.
If your Fourby is lifted or the roof is hard to reach, your side steps or a small safety step will be helpful for reaching those areas.
Dirty Times Wash has a lower pH that enables better cleaning power on minerals which means it’s also great for removing fresh water spots. Its mega lubricating and sudsing formula helps to glide over the surface for a safe and faster clean. Wash the car from the top to the bottom with methodical overlapping motions making sure you don't drag grime from the dirtier lower areas back up to the paint. Always rinse your wash tool in the Rinse bucket water after each section to get rid of sand or grime collected in it, preventing this grit from dragging along your paint as you wash.
The Wash Pillow is the best tool for bigger vehicles as its larger surface area covers the exterior faster and holds stacks of suds. The thin profile of the Shagamittastic wash mitt is perfect for tight spaces like side bars, weather shields and roof racks. While doing the hand wash it’s best to do areas around badges, emblems etc, with one of the Foursome brushes as most of the scratch causing sand and grime has been removed by the pre-wash.
Dirty Times Wash is also built to be very forgiving in the sun, so if it dries, it can simply be rinsed off with a gentle stream of water. Rinse the entire car with the hose and flush out any remaining wash from the crevices around the car. Dirty Times is completely safe for ceramic coatings and sealants, but it can affect some older waxes so you may need to re-apply some protection after use. The easiest way to tell is by judging the paints hydrophobics.

Topping up protection
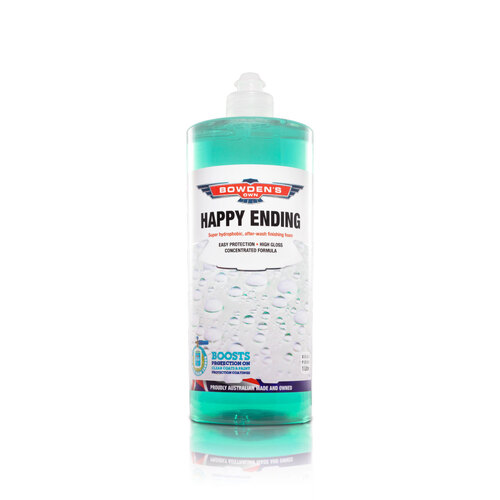
For a quick and easy protection top-up after washing, fill up your Happy Ending bottle with 900mL of water and 100mL of Happy ending and shake it to mix well. Apply Happy Ending to the roof first, then slowly walk around the entire car till it’s covered, avoiding the windscreen where possible.
Happy Ending is similar to Wet Dreams and needs to be pressure washed off immediately after application. Work your way from the top to the bottom with the pressure washer being thorough and enjoy the epic bead porn and real layer of protection that will last 2-3 months making it way easier to clean after trips. It’s also the best protection to use with ceramic coatings as it will perform as a sacrificial layer and help your coating last longer.

Drying
To dry the car, flood the panels with a steady even stream of water and then spray your Twisted Mother Sucker with 4-6 sprays of Boss Gloss. This will lubricate the towel, acting as a drying aid as you glide the 90x60cm twist pile loop over the surfaces of your car. Its handy pockets allow for easy control and are perfect for getting into tight crevices around weather shields, roof racks etc.
The Twisted Little Suckers are the perfect small drying towel for those intricate areas around door jams and wheels, and they use the same high quality material as the Twisted Mother Sucker to quickly suck up any water in their path. A portable blower can be paired with them to blast out and dry up any remaining water from hidden areas.

Tyres
With everything clean and dry, we can finish off the exterior with the tyres using Sweet Rubber, which is best applied with our All Sorts Applicator, ideal for larger sidewalls and chunky treads. With a clean and dry tyre, apply 6-8 sprays of Sweet Rubber into the applicator and rub evenly over the entire tyre, making sure to get into tyre lettering and chukier tread blocks.
Wipe any excess product from the wheels or white walls with a gray twisted little sucker and let it sit for 5 minutes to cure. Sweet Rubber will leave a rich and dark satin finish that repels sand from the sidewalls, keeping them cleaner for longer and making them easier to clean.

Interior cleaning
Considering you’ve been to the beach; you probably have sand everywhere. If you have rubber or plastic floor mats, take them out first and place them on the ground. Give them a rinse to remove sand, then spray Down & Dirty over the surface using The Chubby brush to agitate and get a nice lather on the surface to carry the sand off as you rinse thoroughly once done. Put the mats aside and allow them to dry before moving to the rest of the interior.
For the rest of the interior Start off with a thorough vacuum using the crevice tool for general carpet and nook and cranny cleaning and a brush tool for wider areas, mats, seats etc. Avoid soft plastics like the speedo and any screens here as small particles can cause unwanted micro scratches. For these areas, our quick and easy interior detailer Far Cough is excellent for removing finger print marks and leaving a clean and anti static finish. Spray a few sprays of Far Cough into a folded Big Softie cloth, then gently wipe over any screens, then flip your cloth to a clean and dry side and buff off any residue.
Dirt and sunscreen on seats and door cards can be taken care of with our pH neutral Orange Agent, which is a safe first step for deep cleaning vinyl and leather interiors. Lighter grime or fingerprints can be removed with our interior specific products. Vinyl Care for plastics and vinyl, and then Leather love and Leather Guard for any leather seats which are likely to cop a hiding.
Fabra Cadabra can be used for fabric seats and carpets that have been stained or dirtied. For each product spray first into a square bear applicator and wipe over the affected surface, then with a clean dry cloth, buff off any remaining product to reveal an even finish.

Cleaning recovery gear
For a truly epic offroad adventure, you will need to get bogged at least once, which usually requires the use of recovery gear.
You'll find that your gear should come clean with a simple rinse from the hose, but if you feel the need for some extra cleaning power, you could use our Dirty Times Wash mixed in a bucket which you can dip brushes into.
Lay them out flat (fully unroll any straps or ropes), give them a good rinse, then a good scrub with a brush like a Little Chubby or Big Boy Brett. Then thoroughly rinse off, and allow to dry before packing away.

Still bogged?
Should you have any questions about anything mentioned in this article, or have questions about other products and processes, feel free to get in touch on 1800 351 308, or shoot us an email to info@bowdensown.com.au
Check out our post mud trip cleaning article here.
To find your closest retailer, see our Stockists link here - https://www.bowdensown.com.au/store-finder/
Happy beach bashing!
Gareth Bostock

Products Used


The Twisted Mother Sucker
Our BIGGEST twist-loop super absorbent drying towel is made for fast drying of larger cars, caravans, boats, and trucks.
$56.99


Dirty Times 4WD Wash
Our most powerful and protective wash, for 4WD's, boats and outdoor fanatics.
$24.99


